Embarking on the journey of homebrewing is a rewarding experience, transforming simple ingredients into a complex, delicious beverage. While the process may seem daunting at first, breaking it down into manageable steps reveals the magic and science behind making beer. This guide will walk you through the all-grain brewing process, providing a comprehensive overview that will get you started on your first batch.
The Four Essential Ingredients
Before we dive into the process, it’s crucial to understand the fundamental components of beer:
- Water: The foundation of your beer. The mineral content and pH of your water can significantly impact the final flavor.
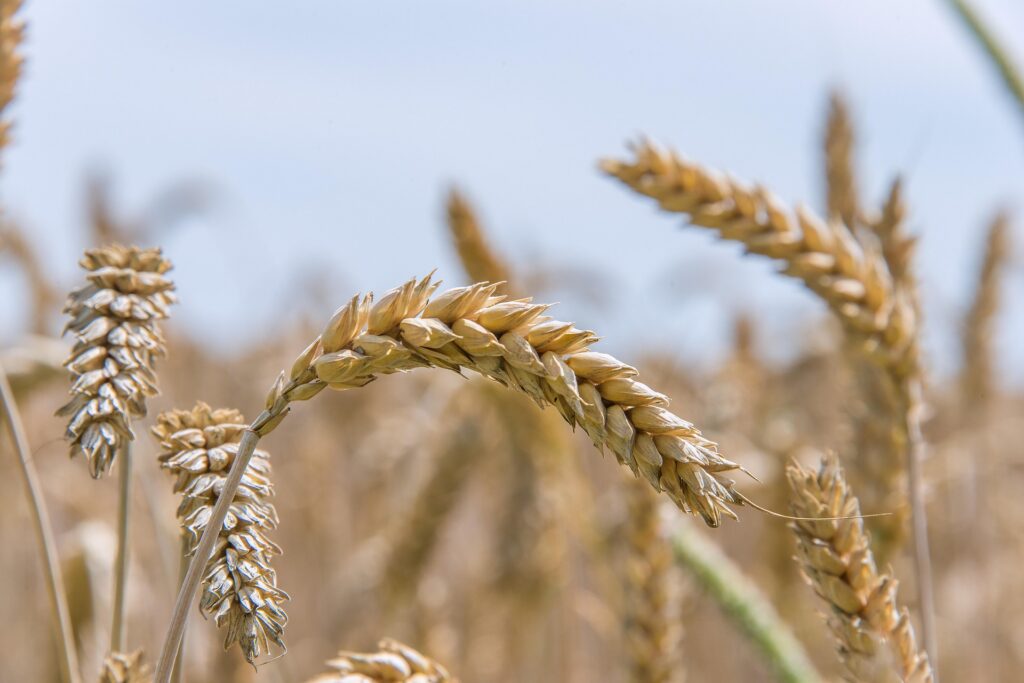
- Malted Grains: These are the heart of your beer, providing the fermentable sugars, color, and flavor. Common malts include 2-Row, Maris Otter, and specialty grains like Caramel and Roasted Malts.
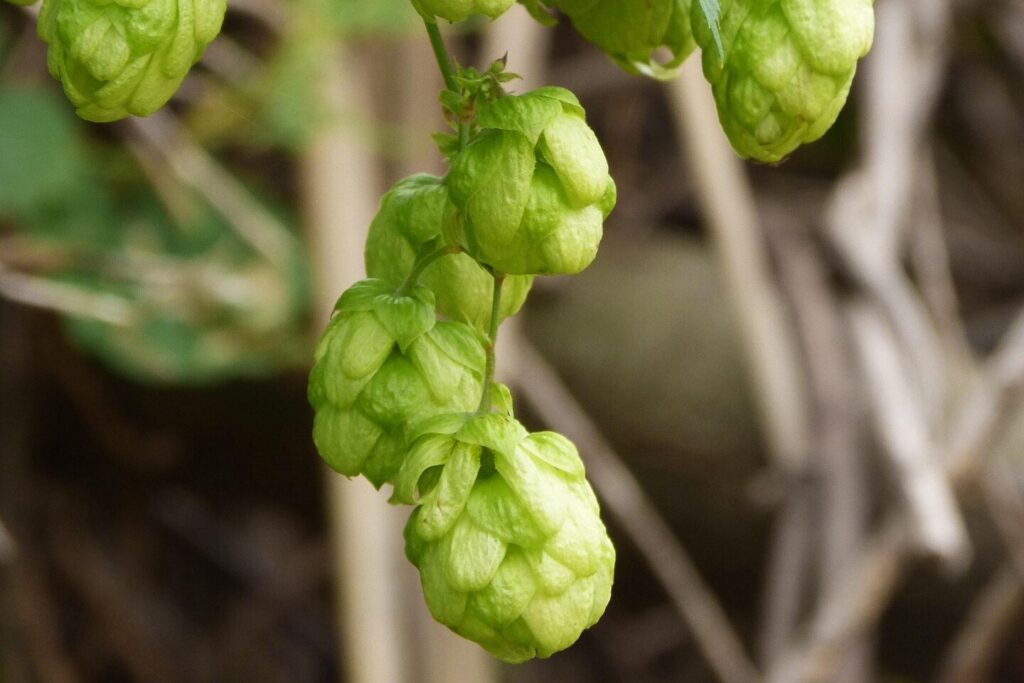
- Hops: These flowering vines provide bitterness to balance the sweetness of the malt, as well as aroma and flavor. There are many varieties, each with unique characteristics.
- Yeast: The unsung hero! Yeast consumes the fermentable sugars and produces alcohol and carbonation. Different strains of yeast produce different flavor profiles.

The Equipment You’ll Need
For an all-grain brew, you’ll need some specific equipment. A good starter kit will often include most of these items, but it’s good to know what they are and their purpose:
- Brew Kettle: A large pot (at least 5 gallons) for heating water and boiling the wort.
- Mash Tun: A large, insulated container for mashing the grains. A 5-gallon water cooler works well for this.
- Lauter Tun/Sparge Arm: A device for separating the liquid wort from the spent grains. Many brewers use a false bottom or a manifold in their mash tun.
- Fermenter: A food-grade bucket or carboy (glass or plastic) with an airlock to hold your beer during fermentation.
- Hydrometer: A tool to measure the specific gravity of your wort, which helps you calculate the alcohol content.
- Brew Spoon/Paddle: A long spoon for stirring.
- Sanitizer: Crucial for preventing contamination.
- Bottling Equipment: A bottling bucket, bottling wand, and bottles/caps.
The All-Grain Brewing Process: Step-by-Step
Step 1: The Mash – Converting Starches to Sugars
The mash is where the magic begins. You’ll steep your crushed malted grains in hot water, typically between 145-158°F (63-70°C). This temperature range activates enzymes in the grains that convert complex starches into simple, fermentable sugars.
- Mash In: Heat your water to a specific temperature (known as “strike water”) to account for the temperature drop when you add the grains. Add the crushed grains slowly, stirring to prevent clumps, until all the grain is wet.
- Mash Rest: Cover your mash tun and let it rest for 60-90 minutes. This gives the enzymes time to do their work. A stable temperature is key, so a well-insulated mash tun is a big help.
Step 2: The Lauter and Sparge – Rinsing the Sugars
After the mash, you have a sweet, syrupy liquid called “wort” mixed in with the grain. The next step is to separate them.
- Lautering: Slowly drain the wort from the mash tun into your brew kettle. This initial runnings will be very concentrated.
- Sparge: Once the first runnings are collected, you’ll add more hot water (around 170°F or 77°C) to the grain bed. This “sparge” water rinses the remaining sugars from the grains, increasing your efficiency and yield. You can do this in batches (batch sparging) or as a continuous flow (fly sparging). Continue sparging until you’ve collected the desired volume of wort.
Step 3: The Boil – Sanitizing and Adding Hops
Now that you have your wort, it’s time to boil it. The boil serves several important purposes:
- Sanitization: The high temperature kills any bacteria or wild yeasts that may be present.
- Hop Utilization: This is when you add your hops. Hops are typically added at different stages for different effects:
- Bittering Hops: Added at the beginning of the boil (60 minutes) to extract bitterness.
- Flavor Hops: Added in the middle of the boil (15-30 minutes) for flavor.
- Aroma Hops: Added at the end of the boil (0-5 minutes) for a fresh hop aroma.
- Concentration: The boil reduces the volume of the wort, increasing its specific gravity and sugar concentration.
The boil usually lasts for 60 minutes, but some recipes may call for a longer or shorter boil.
Step 4: Cooling and Aerating
After the boil, you need to cool the wort down as quickly as possible to “pitching” temperature, which is the ideal temperature for your yeast (typically 68-72°F or 20-22°C for most ale yeasts).
- Chilling: A wort chiller (an immersion chiller is a popular option) is the most efficient way to cool your wort. Submerge it in your kettle and run cold water through it.
- Aeration: Once cooled, you need to aerate the wort. Yeast needs oxygen to reproduce and ferment effectively. You can do this by splashing the wort into the fermenter or by using an aeration wand.
Step 5: Fermentation – The Yeast Takes Over
This is where your wort truly becomes beer.
- Pitching the Yeast: Sanitize your yeast packet and the scissors you use to open it. Carefully pour the yeast into your cooled, aerated wort.
- Airlock: Secure the lid and insert the airlock, which allows carbon dioxide to escape without letting contaminants in.
- Primary Fermentation: Place your fermenter in a dark, temperature-controlled environment. Within 24 hours, you should see signs of fermentation, such as bubbling in the airlock. This primary fermentation will last for 1-2 weeks.
Step 6: Bottling or Kegging
Once fermentation is complete (as indicated by a stable specific gravity reading over a few days), it’s time to package your beer.
- Priming Sugar: To create carbonation, you’ll need to add a small amount of priming sugar (dextrose or corn sugar is common) to your beer before packaging. Boil the sugar in a little water, then add it to your sanitized bottling bucket.
- Siphoning: Gently siphon the beer from the fermenter into the bottling bucket, being careful not to disturb the yeast sediment at the bottom.
- Bottling/Kegging: Fill your sanitized bottles using a bottling wand, leaving a small amount of headspace. Cap the bottles tightly. If kegging, transfer the beer to your keg and carbonate it with CO2.
Step 7: Conditioning and Enjoying
After bottling, store your bottles in a dark, room-temperature location for 1-3 weeks. The yeast will consume the priming sugar, creating the desired carbonation. Once carbonated, you can move them to the fridge to cool and condition.
Congratulations! You’ve just made your own beer. The process is a blend of art and science, and with each batch, you’ll learn more about the nuances of your ingredients and equipment. The most important rule of homebrewing is to have fun and to be meticulously clean and sanitized. Cheers to your first brew!
Leave a Reply
You must be logged in to post a comment.